
Morioh High How to Control Stands: The Toolbox Rule
Morioh High how to control stands: the toolbox rule, four control layers from basics to combos, stamina discipline and the drills that build real command.
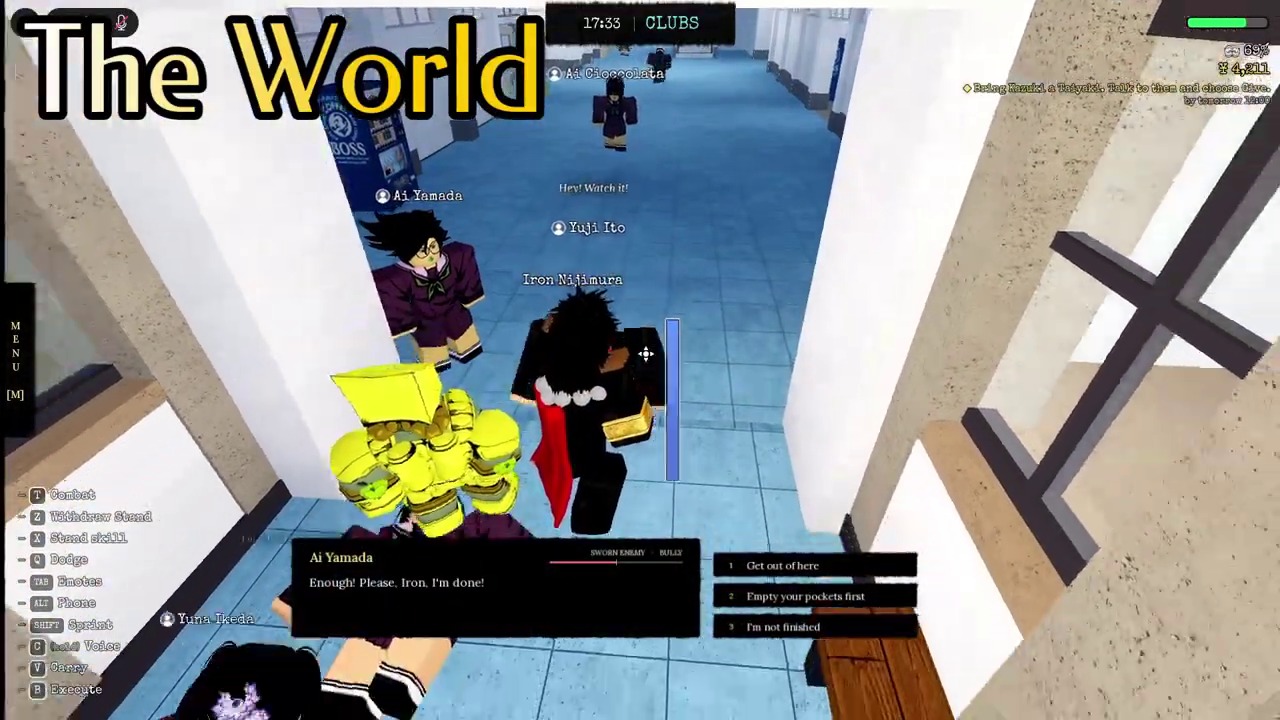
Controlling a Stand in Morioh High is a discipline, not a button press. The tested framework reduces it to one sentence: a Stand is a toolbox, not a firework. Players who dump every ability in the first exchange lose to the stamina lockout, and players who treat each skill as a tool with a job win fights against stronger kits. This guide teaches the layers, the drills, and the habits.
The golden rule and the stamina behind it
Never spend your entire ability set in one exchange. The rule exists because the stamina system enforces it: the bar caps at 100, summoning drains 3.4 per second, combo hits cost 1.9 each, and every skill costs 22. Hit zero and your Stand locks for 10 seconds, which in a real fight is usually the end.
Disengagement is part of control. After dismissing your Stand, recovery starts 1.5 seconds later at 7 per second, so planned exits refresh your resources faster than desperate stands at low stamina ever will. Control means knowing when to be out as much as when to be in.
Layer one: basic attacks
Basic attacks are the ruler of every fight. They confirm range, test timing, and build the rhythm that everything else rides on. The common mistake is attacking on a fixed tempo, because readable rhythm is a gift to parry users, and the perfect parry window in this game is only 0.2 seconds.
Practice basic attacks until they feel boring. Vary your timing, step in and out, and use them to earn information about your opponent before spending anything. Every good Stand player in Morioh High fights with their basic attacks first and their Stand second.
Layer two: Stand skills with purpose
Every skill needs a job: opener, extender, space control, or escape. The mistake is pressing skills on cooldown out of excitement, which empties the bar and hands the fight to the lockout. Assign roles to your kit, and only press a skill when its job applies.
Time stop users illustrate the discipline perfectly. A 3-second freeze on a 40-second cooldown is a fight-ending tool, and wasting it on a poke is how the strongest Stand in the game loses to weaker ones. The stand abilities page maps every skill to its role.
Layer three: defense as an active skill
Defense in Morioh High is front-facing blocks with a 0.2 second perfect parry window, plus dashes that carry brief invincibility at their start. The common error is treating block as an emergency button rather than a stance, which is exactly when crossups and timed attacks punish it.
Practice defense between attacks, not instead of them. Weave movement and blocks into your attack rhythm so defense becomes part of your offense, and drill parries against a cooperative partner until the timing is muscle memory. Surviving the first exchange is what buys you the right to use your kit at all.
Layer four: short, repeatable combos
Combos should be short and repeatable, not long and theoretical. Confirmed basic attacks into one skill is a real combo; a 17-hit sequence that drains 32.3 stamina is a plan for a lockout. Tested damage numbers show why brevity wins: most 8-hit routes deal around 40 for 15.2 stamina, while longer routes trade safety for vanity.
Build one combo you can land under pressure before adding anything. The five-step practice route covers the full progression: test abilities one at a time, build one reliable sequence, add defense between attacks, keep cooldown discipline, then refine for PvP. The combat guide drills the route with all the numbers.
The drills that build real control
Fifteen minutes of focused drills beats an hour of matches. Spend five on parry timing against a partner, five on your one reliable combo against a moving target, and five on disengage-and-resummon cycles that train stamina discipline. Then take two or three real fights where you apply exactly one lesson at a time.
Track your mistakes in a note, because control improves by subtraction. Most players lose the same three ways: ability dumping, panicked blocking, and fighting everywhere on the map. Remove those, and the toolbox does the rest.
Practicing control with real constraints
Control is easiest to learn when you give yourself constraints. Limit your first drills to basic attacks, one skill and one defensive option. With a 22-point skill cost and a 100-point stamina bar, you can quickly see how many mistakes you can afford. When your bar empties, the lock forces you to stop, so the goal is not maximum output; it is sustainable output.
Use the Stand's retract window as a training tool. Putting the Stand away for about 1.5 seconds starts regeneration at 7 per second, which is faster than continuing to drain it. That means retreating for a moment can be stronger than throwing one more unconfirmed skill. Great players do not only attack; they reset the fight on their own terms.
Add a short review after every few fights. Ask whether you lost because of spacing, stamina, missed parries or poor route choice. Those categories matter more than a single damage number. When you can name the mistake, control stops feeling random and becomes a repeatable skill.
A short control drill that works
Use one three-round drill. In round one, only move and block. In round two, add one skill and watch the stamina bar. In round three, add a short combo and one reset. This keeps each lesson small enough to learn.
Stop the drill when your decisions get sloppy. Tired practice teaches bad habits more than good ones. A few clean rounds are worth more than a long messy session.
Related
Browse the full stands hub, or return to the Morioh High wiki home.